
In this article, I will explain how we can integrate MapBox API in a React Application.
You can read my previous article here:
At the end of this article, you will have a working maps application, which will provide you with the route from your current position to any other location.
MapBox GL JS
Mapbox GL JS is a JavaScript package that allows you to create dynamic, editable vector maps on the web. It takes Mapbox Style Specification-compliant map styles, applies them to Mapbox Vector Tile Specification-compliant vector tiles, and displays them using WebGL.
Mapbox GL JS is part of the Mapbox GL ecosystem, which also provides native SDKs for Android, iOS, macOS, Qt, and React Native apps. Mapbox offers building pieces for incorporating location elements such as maps, search, and navigation into any experience you develop.
Mapbox GL JS has the following use cases:
- Animating and visualizing spatial data
- Querying and filtering map features
- Using a Mapbox style to place your data between layers
- Custom client-side data is dynamically displayed and styled on a map.
- Animations and representations of 3D data
- Programmatically adding markers and popups to maps
Important Links
- Sign up for a free account, here.
- To have a look at pre-created examples, visit.
- To see API Reference, visit.
Installing required packages
We need to install the React MapBox GL JS package, using the following
npm install --save react-map-glAdding MapBox API
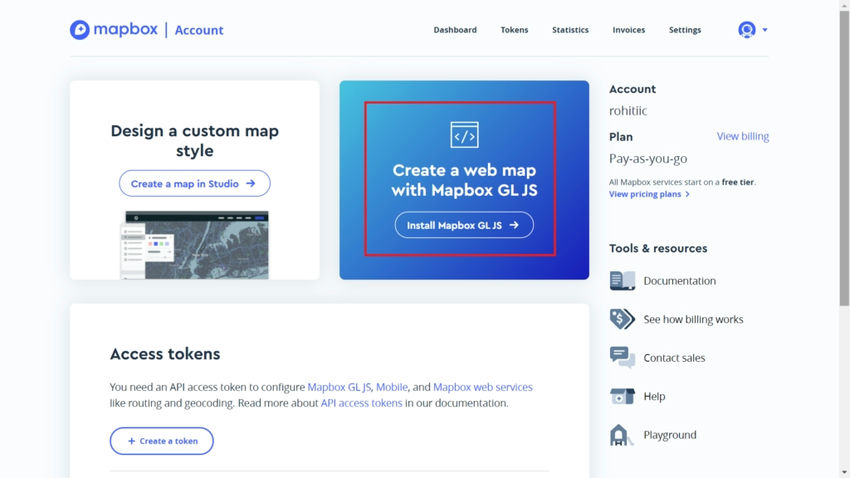
MapBox gl JS provides two ways to use it, SDK and API. I will be using API.
Sign in to your account. You will see a title showing “Create a web map with Mapbox GL JS”.
After that, you will get an option to choose if you want to add MapBox API using CDN or NPM.
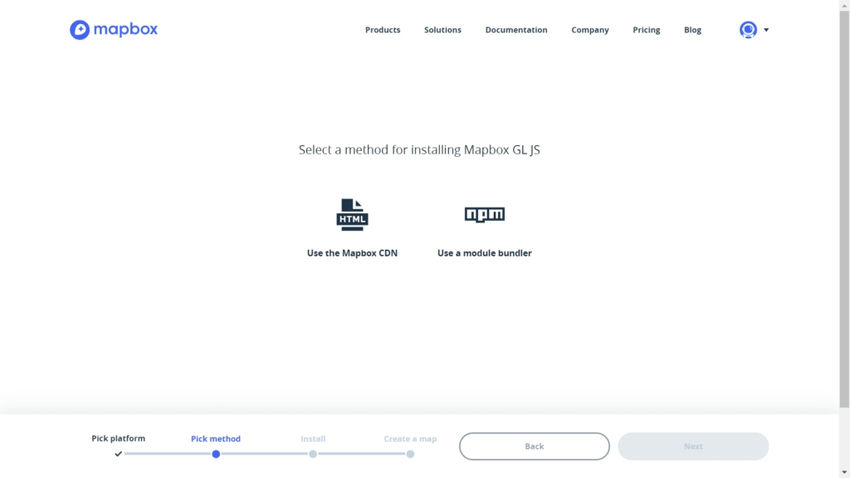
I will be using NPM, you can use CDN if you want.
Add the following code in your public/index.html file.
<link href='https://api.mapbox.com/mapbox-gl-js/v2.3.1/mapbox-gl.css' rel='stylesheet' /><script src='https://api.mapbox.com/mapbox-gl-js/v2.3.1/mapbox-gl.js'></script>Note:
Make sure to get an access token. If have used the default token provided to you when you create your account.
Given below is the starter code, which we can use to integrate MapBox GL.
<div id='map' style='width: 400px; height: 300px;'></div>
<script>
  mapboxgl.accessToken = YOUR_TOKEN;
  var map = new mapboxgl.Map({
    container: 'map',
    style: 'mapbox://styles/mapbox/streets-v11'
  });
</script>
Map.css
Given below is the style sheet for MapBox GL JS.
.map-container {
    position: absolute;
    top: 0;
    bottom: 0;
    left: 0;
    right: 0;
}

.sidebar {
    background-color: rgba(35, 55, 75, 0.9);
    color: #fff;
    padding: 6px 12px;
    font-family: monospace;
    z-index: 1;
    position: absolute;
    top: 0;
    left: 0;
    margin: 12px;
    border-radius: 4px;
}

#instructions {
    position: absolute;
    margin: 20px;
    width: 25%;
    top: 0;
    bottom: 20%;
    padding: 20px;
    background-color: #fff;
    overflow-y: scroll;
    font-family: sans-serif;
}
Setting up the project
You can either create a new project or add the code to your old project.
Add the following code, which imports all required files.
import React, { useRef, useEffect, useState } from 'react';
import mapboxgl from 'mapbox-gl';
import './component/Map.css'
After that, we declare the following variables using React Hooks.
const mapContainer = useRef(null);       //MapBox Container
const map = useRef(null);                //MapBox rendered element
const [lng, setLng] = useState(77.378);  //Longitude
const [lat, setLat] = useState(28.624);  //Latitude
const [zoom, setZoom] = useState(12);    //Zoom Level
const start = [lng, lat];                //Initial Directions
We use an useEffect() hook so to render the MapBox API after the site loads. It will render once every time we reload. To learn about React useEffect() hook, visit.
useEffect(() => {
    if (map.current) return; // initialize map only once
    map.current = new mapboxgl.Map({
      container: mapContainer.current,
      style: 'mapbox://styles/mapbox/streets-v11',
      center: [lng, lat],
      zoom: zoom
    });
    map.current.on('move', () => {
      setLng(map.current.getCenter().lng.toFixed(4));
      setLat(map.current.getCenter().lat.toFixed(4));
      setZoom(map.current.getZoom().toFixed(2));
    });
    route();

}, [map.current]);- We initialize the Map using the mapboxgl.Map()
- We define the map style as Streets-v11, you can choose any of the styles from MapBox Styles.
- We set the start point as the center of the map. So that whenever the map is rendered it shows this location.
- We declare the action to be taken when we move using map.current.on()
- setLng(), setLat(), and setZoom() is used to change the center when the map is moved.
locate()
locate() is used to add an autolocate feature to the map. I will be using it to set the initial position whenever finding the route.
const locate = () => {
    map.current.addControl(
      new mapboxgl.GeolocateControl({
        positionOptions: {
          enableHighAccuracy: true,
        },
        // When active the map will receive updates to the device's location as it changes.
        trackUserLocation: true,
        style: {
          right: 10,
          top: 10
        },
        position: 'bottom-left',
        // Draw an arrow next to the location dot to indicate which direction the device is heading.
        showUserHeading: true
      })
    );
  }
We use mapboxgl’s GeoLocation API.
- We need to set trackUserLocation as true, to be able to track user location.
- I have set enableHighAccuracy as true, so as to get accurate location.
- Set position as ‘bottom-left’, so as to position the location icon on the left side bottom corner.
route()
We create an arrow function ‘route’. This function is used to find and plot the optimized route on the map.
const route = () => {
    locate();
    map.current.on('load', () => {

//code
    });
  }
We call locate to position the map on your current location.
After that, we call an on() to define the actions to be taken when we click on the destination location.
Add the following code under ‘route()’.
// Add starting point to the map
map.current.addLayer({
	id: 'point',
	type: 'circle',
	source: {
		type: 'geojson',
		data: {
			type: 'FeatureCollection',
			features: [{
				type: 'Feature',
				properties: {},
				geometry: {
					type: 'Point',
					coordinates: start
				}
			}]
		}
	},
	paint: {
		'circle-radius': 10,
		'circle-color': '#3887be'
	}
});
In the above code, we plot an initial point on the map, using the addLayer().
map.current.on('click', (event) => {

//code
	getRoute(coords);
});
We create an action, to be taken whenever we click on the map. We add the following code, after that, we call getRoute() to plot the route graphically.
const coords = Object.keys(event.lngLat).map((key) => event.lngLat[key]);
const end = {
	type: 'FeatureCollection',
	features: [{
		type: 'Feature',
		properties: {},
		geometry: {
			type: 'Point',
			coordinates: coords
		}
	}]
};
In the above code, we declare ‘coords’ as an object which contains the location data.
We declare ‘end’ with demo details, which will be changed based on the click made by the user.
if (map.current.getLayer('end')) {
	map.current.getSource('end').setData(end);
} else {
	map.current.addLayer({
		id: 'end',
		type: 'circle',
		source: {
			type: 'geojson',
			data: {
				type: 'FeatureCollection',
				features: [{
					type: 'Feature',
					properties: {},
					geometry: {
						type: 'Point',
						coordinates: coords
					}
				}]
			}
		},
		paint: {
			'circle-radius': 10,
			'circle-color': '#f30'
		}
	});
}
In the above code, if the user has already clicked on the screen, get the coordinates. Otherwise, make a plot of the point based on the click made by the user.
getRoute()
We create an async to create an optimal route between the two and plots onto the map.
async function getRoute(end) {
    const query = await fetch(
`https://api.mapbox.com/directions/v5/mapbox/cycling/${start[0]},${start[1]};${end[0]},${end[1]}?steps=true&geometries=geojson&access_token=${mapboxgl.accessToken}`,
      { method: 'GET' }
    );

    const json = await query.json();
    const data = json.routes[0];
    const route = data.geometry.coordinates;
    const geojson = {
      type: 'Feature',
      properties: {},
      geometry: {
        type: 'LineString',
        coordinates: route
      }
    };

   //code
  }
We use fetch() to connect, make a request, and get a response from the MapBox API.
After that, we break the response, so as to get the required data, which will then be plotted onto the map.
// if the route already exists on the map, we'll reset it using setData
if (map.current.getSource('route')) {
	map.current.getSource('route').setData(geojson);
}
// otherwise, we'll make a new request
else {
	map.current.addLayer({
		id: 'route',
		type: 'line',
		source: {
			type: 'geojson',
			data: geojson
		},
		layout: {
			'line-join': 'round',
			'line-cap': 'round'
		},
		paint: {
			'line-color': '#3887be',
			'line-width': 5,
			'line-opacity': 0.75
		}
	});
}
In the above code, we check if the route exists on the user’s click. If the route exists, we reset the route and create a new route.
 // get the sidebar and add the instructions
 const instructions = document.getElementById('instructions');
 const steps = data.legs[0].steps;

 let tripInstructions = '';
 for (const step of steps) {
 	tripInstructions += `<li>${step.maneuver.instruction}</li>`;
 }
 instructions.innerHTML = `<p><strong>Trip duration: ${Math.floor(
      data.duration / 60
    )} min 🚴 </strong></p><ol>${tripInstructions}</ol>`;
The above code renders the UI, with the navigation details, i.e. steps to be taken to reach the destination.
HTML Code
Add the following code under return to add the map and route components.
<div ref={mapContainer} className="map-container" />
<div id="instructions" className="instructions"></div>
Download the complete code below:
Conclusion
Thanks for reading, hope you got answers to some of your questions and learned to create a React-based Maps application to find routes between two locations.
Visit Let’s React to learn more about React.
![]()


Sorry, it is horrible. Brackets hell. Why nobody can’t create an easy and working Mapbox example?